Show manual install instructions
Step 1 – Install React to a clean WordPress install and activate the React Child theme
If you haven’t already – purchase React and install it on your site. Install and activate the React Child theme.
Step 2 – Import the demo content
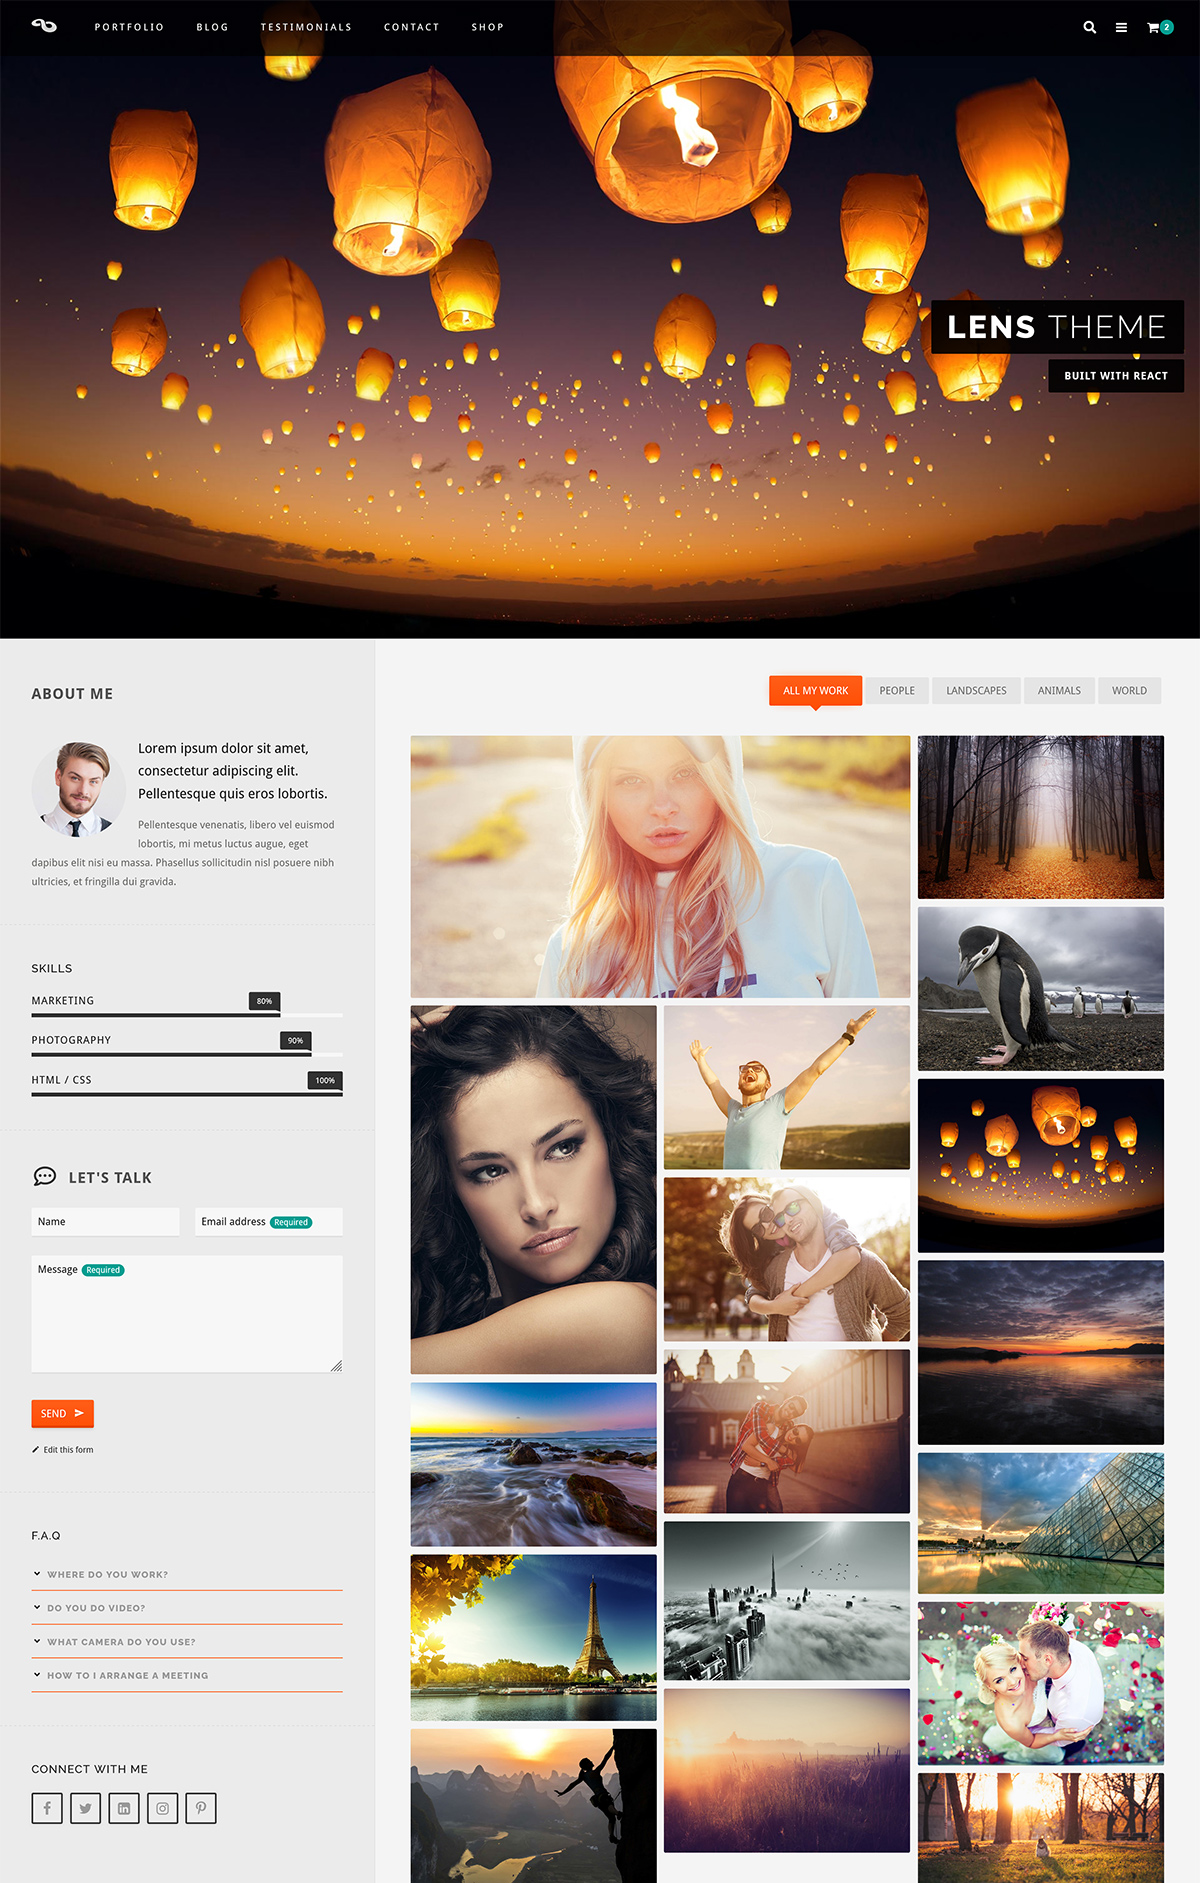
Download the React Lens XML export file and save it to your computer. In your WordPress install go to Tools → Import and click WordPress. Install the WordPress Importer plugin when asked. Once installed click Activate Plugin & Run Importer then choose the React Lens XML export file you just downloaded and make sure to tick the box Download and import file attachments. It may take a few minutes to download the attachments so it’s a good time to grab a cup of tea!
Step 3 – Import the theme options
Click the toggle below to show the theme options data and copy this (Ctrl + C) then in your WordPress install go to Appearance → Theme Options → Advanced → Import and paste the text into the box, then click Import.
Step 4 – Activate Quform and import the forms
Install and activate the Quform plugin included with the React theme download. This Case Study has 2 forms. For each of the forms in the toggles below, copy the import data (Ctrl + C) and paste it into the Import box at Quform → Import on the WordPress menu.
Step 5 – Import the widgets
Download the React Lens widgets export file and save it to your computer. In your WordPress install go to Plugins → Add New and search for Widget Importer & Exporter. Install the Widget Importer & Exporter plugin and activate it. After that go to Tools → Widget Importer & Exporter on the WordPress menu and under Import Widgets choose the React Lens widgets export file you just downloaded then click Import Widgets.
Step 6 – Tidying up
Set a static front page
Go to Settings → Reading on the WordPress menu. set Front page displays: A static page, choose Front page: Home.
Set the correct menu locations
Go to Appearance → Menus on the WordPress menu and click Manage Locations. Set Primary Menu to Primary then Save Changes.
General settings
Go to Settings → General on the WordPress menu and enter the site Tagline, choose your local Timezone and set the Site Language.
Configure permalinks
Go to Settings → Permalinks on the WordPress menu and configure Permalinks the way you like. We usually choose the Custom Structure below to have page slugs without the trailing slash.
/%year%/%monthnum%/%postname%

